Skip to content
Guides

Order of the Sinking Star Walkthrough Part 2: East Mirror Isles

Part 2 of 7 in GameClue's Order of the Sinking Star walkthrough: The Mirror Isles from first teleports and stone bridges through cloning sub-regions and late stacked-mirror boards. Part 0 covers Crossroads; Part 1 covers North.

Share this article
FacebookXReddit
By GameClue9 min read

Spoiler warning: this guide may discuss puzzles and story details. Hints stay hidden until you choose to reveal them.

This is Part 2 of GameClue's seven-part Order of the Sinking Star walkthrough. Go east from the Crossroads into The Mirror Isles. Part 0 covers hub habits; Part 1 covers North. Here you learn magic-mirror teleports, stone bridges, then cloning and later bend tricks through the opening eastern campaign.

Soft Mirror Isles rules

  • Goal tiles are yellow circles. Multi-circle rooms usually need a clone so every circle is occupied at once.
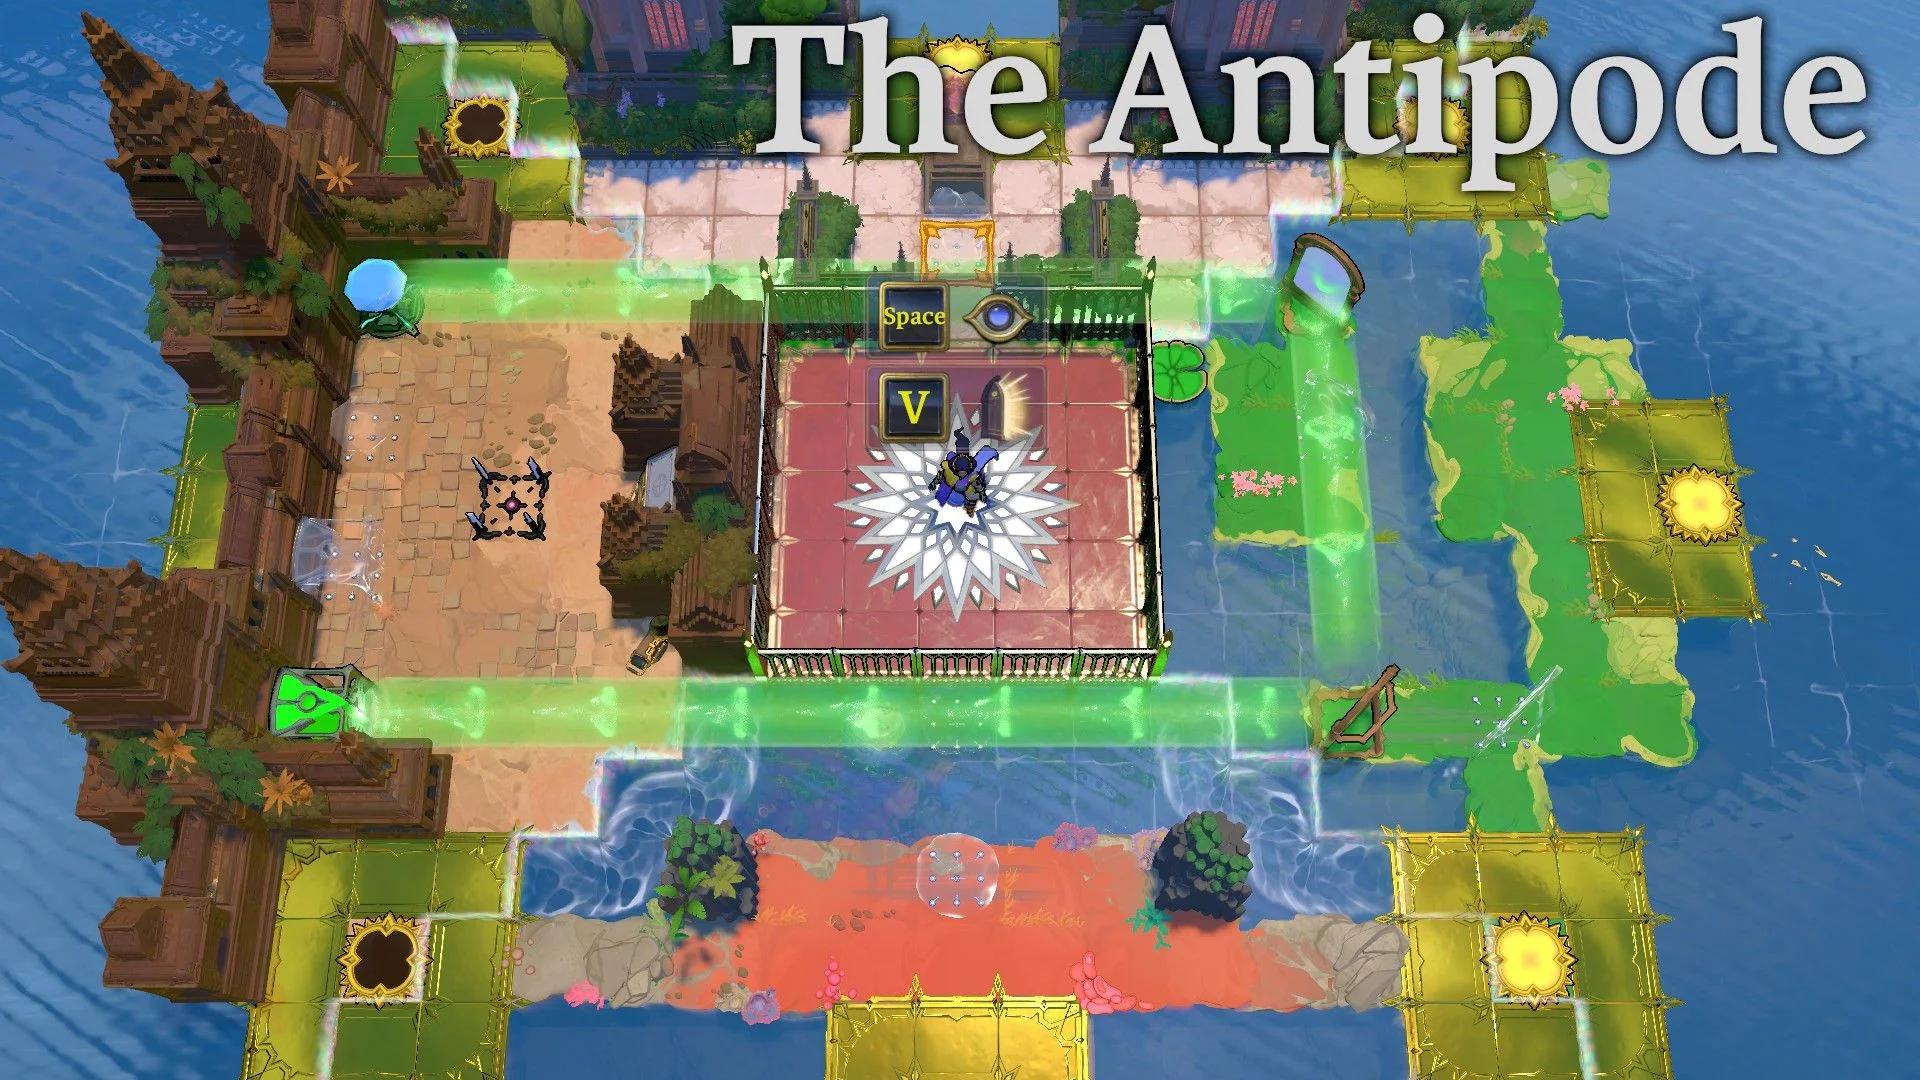
  • Magic mirrors have two right-angle arms. Activate teleports every current reflection at once; if any landing is blocked, nothing moves.
  • You can push mirrors, not pull them. Do not shove a mirror to an edge you cannot get behind.
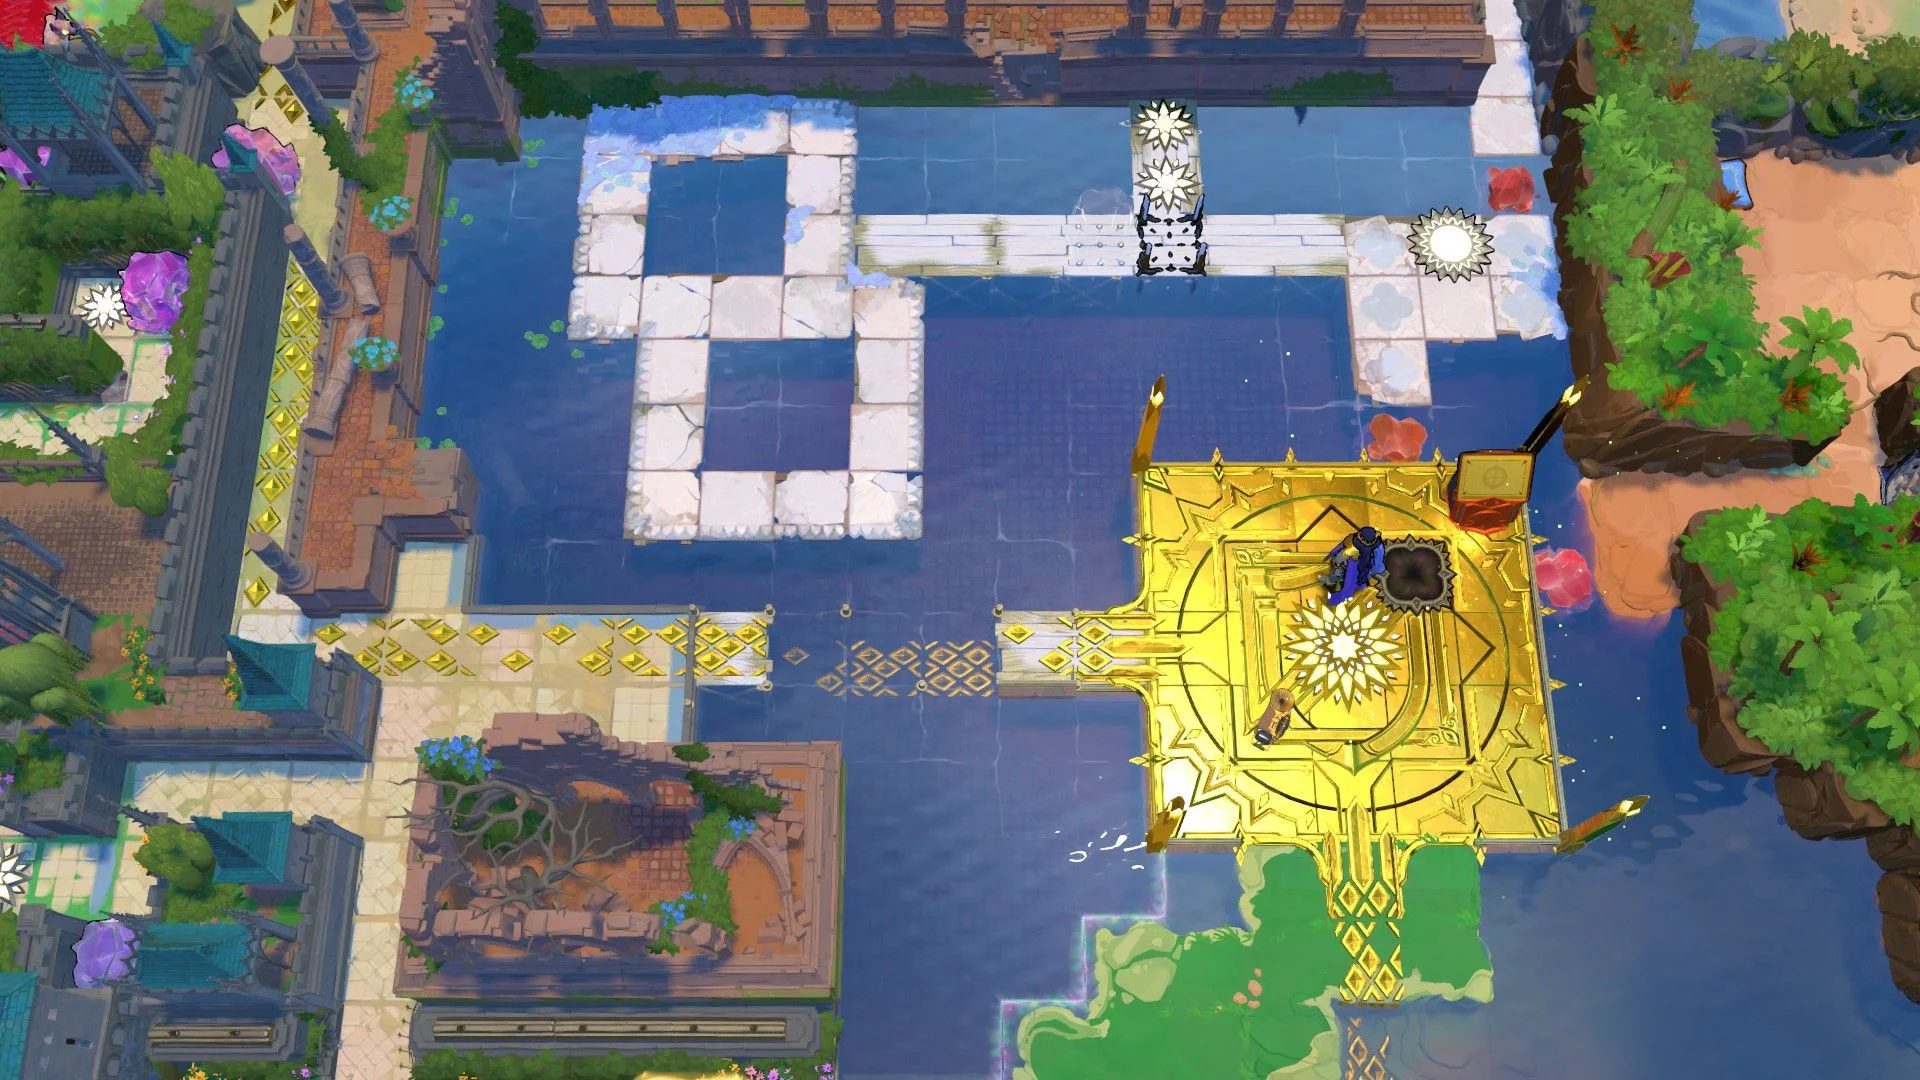
  • Stones/crystals pushed into water become walkable pads or bridges.
  • Plain mirrors do not teleport, but they can bend a teleport path (WikiTactics).
  • Two mirrors reflecting the same actor create a clone; matching merges recombine copies.

Route structure below follows GameRant's Mirror Isles Parts 1-3, cross-checked with WikiTactics' The Mirror Isles boards and sinkingstarwalkthrough's 1-27 writeups. Gamer Guru's Mirror Isles video is the timestamp companion (YouTube AvEvGG2bU_o).

Gamer Guru - Mirror Isles puzzle solutions video companion.

Sub-region 1 - Puzzles 1-8 and hub minis

Soft tip: finish the eight island boards and the three hub minis in order. Hub clears unlock the next pier; after Puzzle 6 you may need to rewind a hub mirror before the southern pier opens.

Hub piers gate later boards; clear island rooms, then spend hub minis.

Puzzles 1-4

Puzzle 1 teaches lining up a teleport onto a yellow circle.
Stand where the reflection lands on the target isle before you Activate.
Finish on the yellow circle after the second hop.

Puzzle 2 introduces pushable mirrors.
Push carefully - you cannot pull a mirror back from a bad edge.
Line the second mirror for an eastern landing.

Puzzle 3 mixes a stone bridge with mirror hops.
Push the southern stone into water to reach the center isle.
From the center isle, line a hop to the west.
Push the western mirror up, then walk south to reflect north.
Use northern stones to rebuild bridges toward the center.
Park the mirror on the center isle's right tip.
Stand south in the same column to reflect east onto the goal.

Puzzle 4 builds a side bridge for a final east hop.
Nudge the mirror, then teleport to work the stone.
Walk the stone to the drop point.
Stand on the sunk stone so your reflection reaches the east goal.

Hub mini 1 uses the newly available hub mirror.

Puzzles 5-8 and remaining hubs

Puzzle 5 moves the mirror west, then south via branched bridges.
Build the first water bridge before ferrying the mirror.
Get the mirror onto the western isle.
Extend a branch so the mirror can drop south.

Puzzle 6 drops paired northern stones as pads under the mirror column.

Hub mini 2 often needs a rewind before the south pier opens.

Puzzle 7 chains bridges between upper, southern, and eastern isles.

Hub mini 3 opens the path into the cloning sub-region.

Sub-region 2 - Cloning and creative bridges (9-16)

Soft tip: rooms with two yellow circles need a simultaneous clone. Mirror-in-mirror setups spawn a copy while leaving the original. Edge walking can desync clone movement so only one copy steps. Full step lists for every board live on GameRant's Part 2 page; spoilers below keep the key ideas.

Puzzle 9 is the cloning tutorial.

Puzzle 11 uses a pink stone bridge into tougher teleports.

Puzzle 12 teleports a yellow stone before bridging.
Puzzle 13 forces creative bridging around a fixed dark stone.

Puzzle 14 teleports a purple stone into a bridge.

Puzzle 15 is widely called the toughest board of sub-region 2.

Puzzle 16 paves a water row then pushes the mirror across.

Sub-region 3 - Stacked bends and late boards

Soft tip: later rooms stack mirrors into U-bends, bounce off plain frames, and sink crystals as exit pads. GameRant's Part 3 covers the closing set; WikiTactics lists 27 boards in The Mirror Isles area including post-campaign extras.

Puzzle 17 stacks mirrors so one Activate bends through both.

Puzzle 19 lines two west mirrors in one column.

Late boards mix crystal pads with multi-trader swaps.
Puzzle 20 sinks a purple crystal beside the goal islet.

Puzzle 22 parks one trader on pads while the other moves the mirror.

What's next

Part 3 covers South: Skipping Stones to Lonely Homes. If a Mirror Isles board stalls, leave east, change worlds from the Crossroads, and return with fresh eyes - Part 0's undo-first habits still apply.