Spoiler warning: this guide may discuss puzzles and story details. Hints stay hidden until you choose to reveal them.
This is Part 4 of GameClue's seven-part Order of the Sinking Star walkthrough. From the Crossroads, head west into Vault of the Beamcasters. Part 0 covers hub habits; Part 1, Part 2, and Part 3 cover North, East, and South. Here gems power colored beams, relics reshape the map, and the Explorer's cavern wraps on every edge.
Soft Beamcasters rules
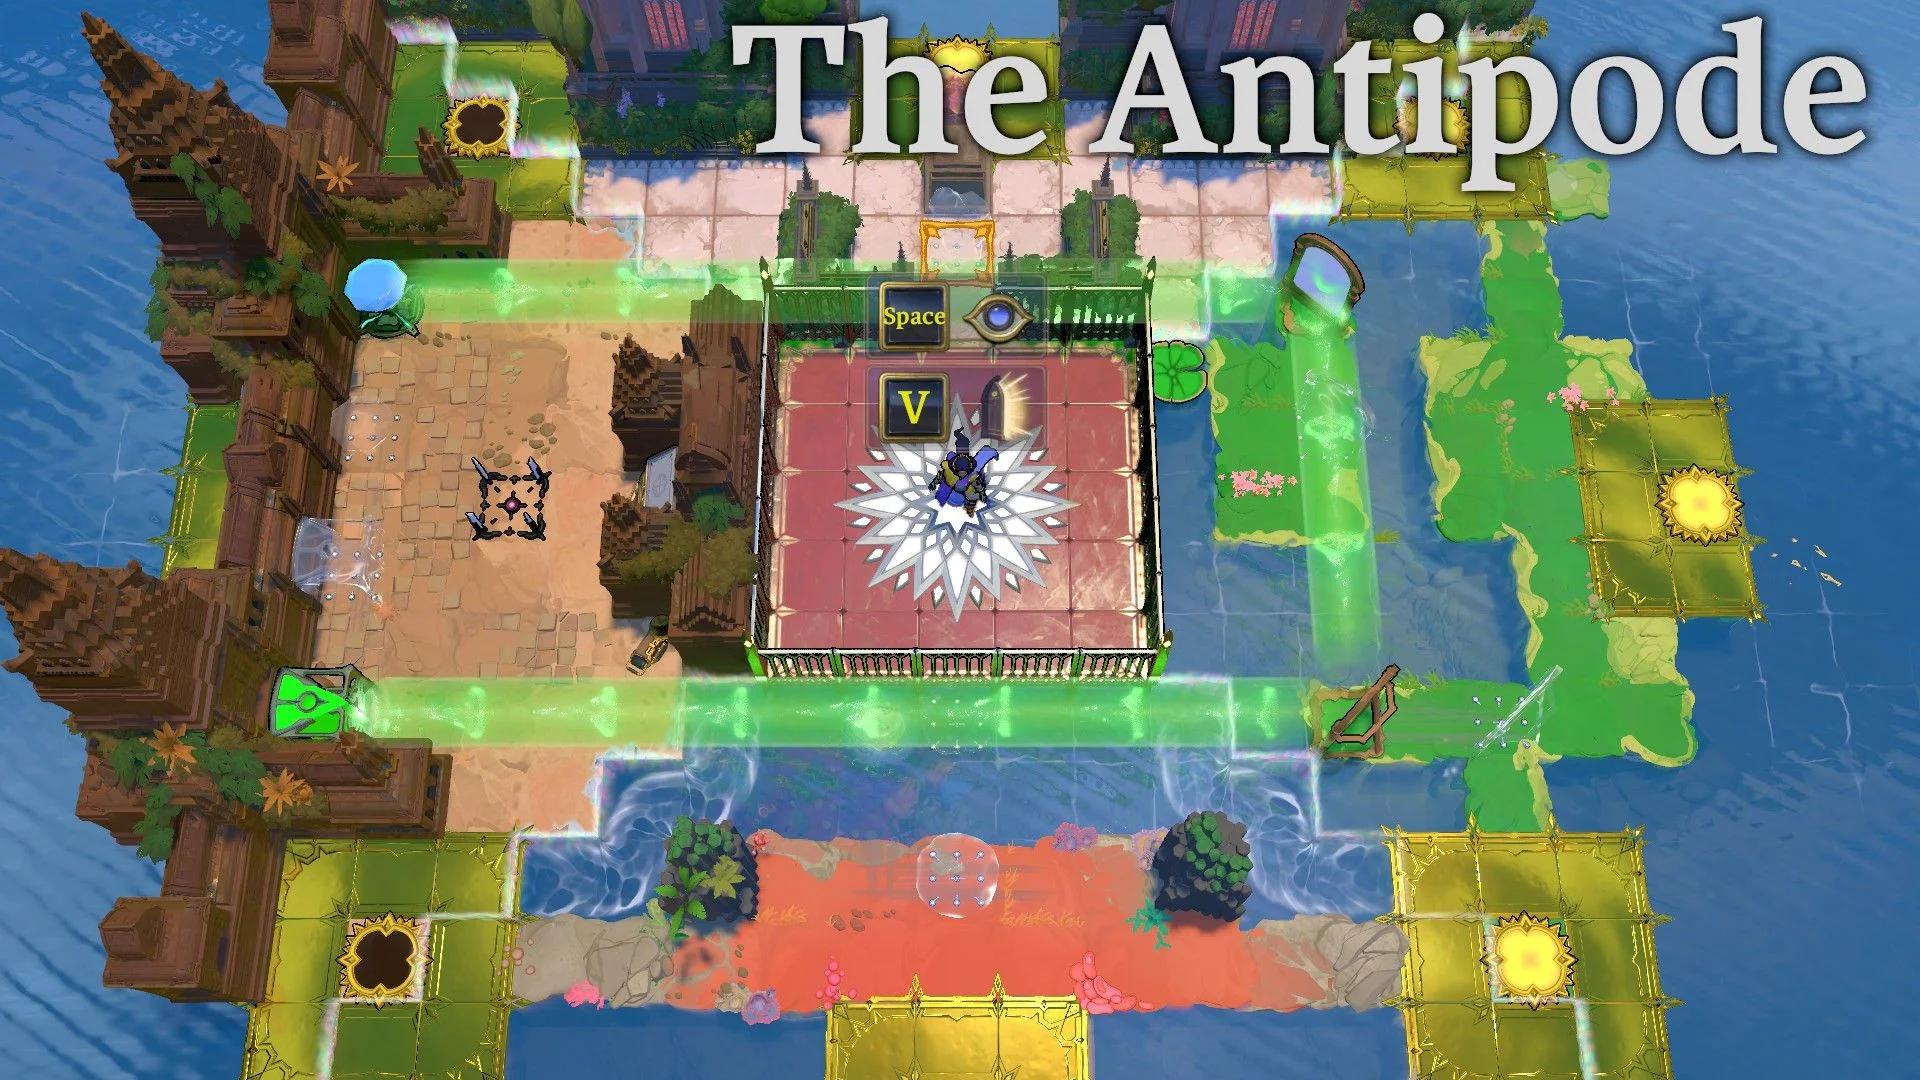
- Socket a gem and every emitter on that block lights. Pull the gem and those beams go dark.
- Tab shows a wrapping 4x4 block map - beams can leave one edge and re-enter the opposite side.
- Stand in a beam to gain its power. Beams stack if you stand in more than one.
- Yellow: smash rocks, boulders, and moving devices. Cyan/teal: push objects (without it you cannot push). Red: open red energy barriers. Green: walk through walls (destination tile must be free). Orange: jump two tiles; cannot land on a wall. Purple (Level 2): step along the beam to its far end.
- Orange extends reach: orange plus yellow can smash two tiles away; two oranges jump four tiles.
- Always light an exit beam before pocketing a gem that traps you in an alcove.
- Level 1 depths: Rod of Alabaster - activate to shove the object in front of you forward one free tile (can jump walls). While holding the rod you cannot turn 90 degrees freely; face changes need deliberate turn inputs.
- Level 2 depths: Lucite Torc - while standing in a beam, activate to rotate that beam to face the way you are looking.
- Collecting a gem with a bad beam setup can soft-lock a room - undo or reset to the checkpoint before you dig deeper.
Route structure below follows GameRant's Vault of the Beamcasters Level 1 and Level 2 walkthroughs, cross-checked with WikiTactics' Beamcasters world rules, sinkingstarwalkthrough's West overview and Vault gem routes, and Gamer Guru's Vault video companion. Level 1 hunts 20 gems (12 upstairs, then Rod downstairs and upstairs cleanup). Level 2 hunts 22 gems with the Torc. After the Vault, Cart/Rod and Torc side areas open near the West hub.
Level 1 - Twenty gems and the Rod of Alabaster
Soft tip: clear twelve upstairs gems first, ride the elevator down for the Rod of Alabaster and five more, return upstairs with the Rod for three, then socket all twenty downstairs to hatch the gold-room egg. Recollect gems after each laser job so you stay stocked.
Level 2 - Twenty-two gems and the Lucite Torc
Soft tip: Level 2 starts with nine upstairs gems, then the Torc downstairs for eight more, then five upstairs with beam rotation, and finally feed all twenty-two to the lizard at the start block. Face the way you want a beam to point before you activate the Torc.
After the Vault - Cart, Rod and Torc
Soft tip: clearing both Vault levels opens more West surface paths. North of the hub sits Cart, Rod (cart plus Rod puzzles). South sits the Torc pocket. These are smaller than the Vault gem hunts; WikiTactics lists six boards each for Cart/Rod and Torc on the Beamcasters world map. Treat them as optional depth before Gold and Antipode work in later parts.
- Cart, Rod: move beam sources with the Rod, ride carts, and combine Through / Double / Strong / Endpoint colors.
- Torc pocket: rotate emitters while standing in beams; often pairs Torc with Rod or crystal pads.
- Far-west crossovers such as Reflected Beams need Mirror Isles progress plus Vault depth - save those for after Part 2 and Part 4 basics.
Next: Part 5 Gold
With West Vault clear, Part 5 covers the Gold rooms. Part 6 finishes Antipode High and Low.